Understanding MiniDV Tapes and Their Importance
What are MiniDV Tapes?
MiniDV tapes are digital video cassette tapes introduced in the late 1990s, designed primarily for consumer camcorders. These compact tapes allow for high-quality video recording and playback using digital compression technology. Each MiniDV tape can store up to 60 minutes of video in SP (Standard Play) mode, or approximately 90 minutes in LP (Long Play) mode. This format quickly became the standard choice for home video enthusiasts and amateur filmmakers alike, as it produced significant advancements in video clarity, sound fidelity, and ease of use compared to analog formats.
Why Convert MiniDV to Digital?
Converting Minidv to digital serves several crucial purposes. Firstly, it preserves the content stored on these tapes, as their physical nature leads to degradation over time. MiniDV tapes can deteriorate due to environmental factors such as humidity and heat, which could result in losing precious memories captured on film.
Moreover, digital formats offer greater accessibility and versatility. Unlike MiniDV tapes that require specific playback devices, digital files can be easily viewed, edited, and shared across various platforms and devices, from computers to smartphones. Additionally, digital video can be stored in the cloud, ensuring a backup that is less susceptible to wear and tear.
Common Challenges in Conversion
While converting MiniDV tapes to digital is a straightforward process, it may come with a series of challenges. Users often encounter issues such as tape degradation, which can lead to poor video quality if not handled correctly. Capturing footage from damaged tapes can result in lost frames or artifacts that can diminish the overall viewing experience.
Another challenge includes the availability and compatibility of hardware. Users need specialized equipment such as a MiniDV camcorder or a dedicated tape converter to ensure successful conversion. Software incompatibilities may also arise, making it essential to choose the right tools for the job.
Choosing the Right Equipment for Conversion
Essential Hardware for MiniDV to Digital
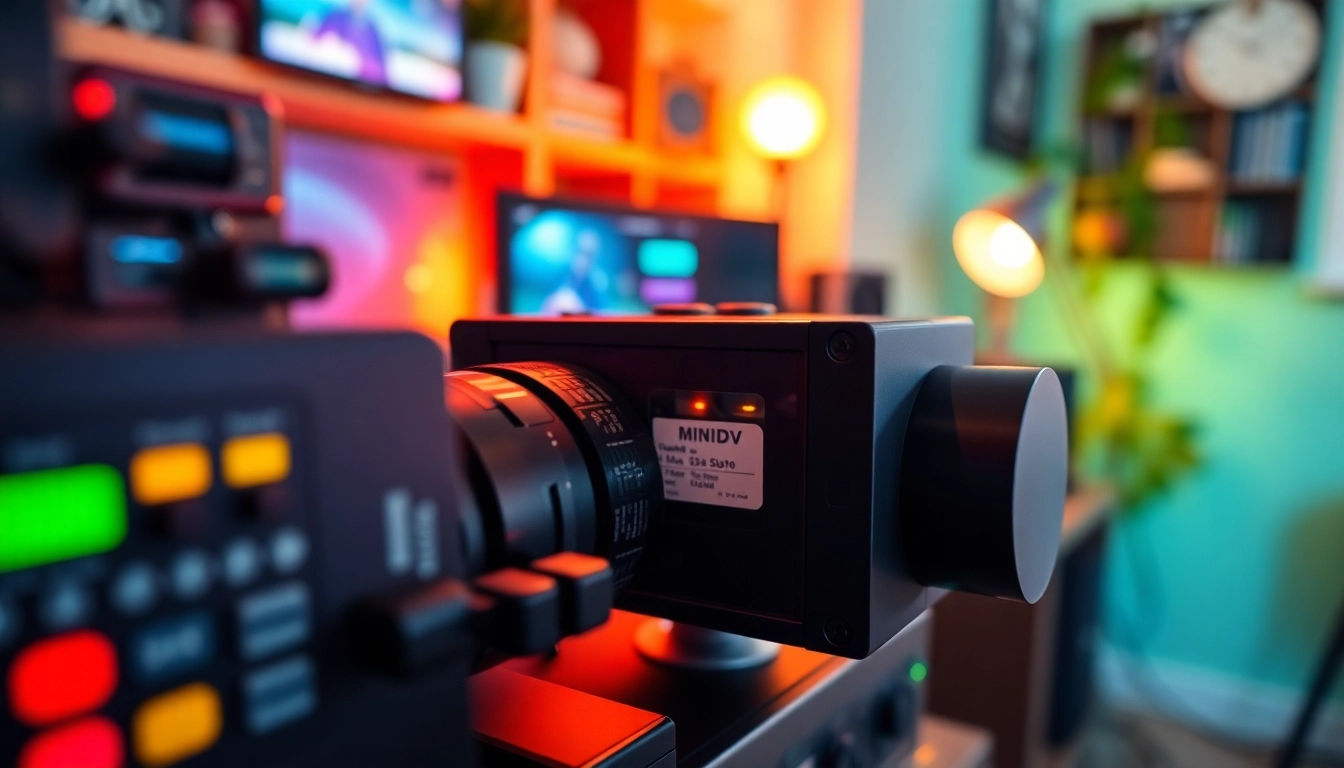
For an effective MiniDV to digital conversion, selecting the right hardware is vital. The first requirement is a working MiniDV camcorder or a standalone MiniDV to USB converter. These devices serve as the bridge between the MiniDV tapes and the digital world, enabling playback and file transfer to a computer.
When considering a camcorder, look for one that has the capability to output in a format compatible with your editing software. A FireWire (IEEE 1394) port is typically preferred for video transfer, as it provides a fast data transmission rate, which helps achieve high-quality results.
Recommended Software Tools
The software you choose plays a significant role in the quality of your digital video conversion. Popular software tools include Adobe Premiere Pro, Final Cut Pro, and iMovie for Mac users. These programs offer user-friendly interfaces, allowing you to edit, enhance, and export your videos seamlessly. Additionally, specialized video capture software like Windows Movie Maker or HDVSplit can be beneficial for managing video files and ensuring optimal conversion settings.
DIY vs. Professional Services
A critical decision when converting MiniDV tapes to digital revolves around whether to tackle the process yourself or hire a professional service. DIY conversion can be cost-effective, especially for those who have multiple tapes they want to convert and the necessary hardware and software. It allows for complete control over the process, ensuring that any desired editing and enhancement can be performed right away.
On the other hand, professional services provide expertise and access to specialized equipment that may yield higher quality results. Such services typically guarantee that tapes receive the proper care during conversion, especially if they are damaged or degraded. Ultimately, the choice depends on the volume of tapes to be converted, budget constraints, and the desired quality level.
Step-by-Step Guide: MiniDV to Digital Conversion
Preparing Your MiniDV Tapes
Before diving into the conversion process, it’s imperative to properly prepare your MiniDV tapes. First, inspect each tape for signs of physical wear or damage. Look for frayed labels, cracked casings, or uneven spools. Cleaning the MiniDV tape heads using a dedicated cleaning cassette can also help improve playback quality.
Next, make a list of the tapes you want to convert, and organize them based on their content or recording dates. This organization will streamline your workflow during conversion, making it easier to manage files later on.
Setting Up Your Equipment
Properly setting up your equipment is key to a successful conversion. Begin by connecting your MiniDV camcorder or converter to your computer using a FireWire or USB cable. Once connected, power on the device and open your chosen video capture software. Ensure that your software recognizes the input device, which may require a few adjustments in the preferences or device settings.
Set the software to the appropriate project settings based on the resolution and format you desire for your digital video. Typically, exporting in high-definition formats like .MOV or .MP4 is recommended, as they offer compatibility with most devices and software.
Executing the Conversion Process
With everything set up, the actual conversion can commence. Insert the MiniDV tape into the camcorder and press play. Simultaneously start the capture process in your software, which will record the incoming video feed as a digital file. Monitor the transfer to ensure the entire tape is fully captured without interruptions.
Once the tape reaches the end, stop both the playback and recording process. Save the file to your designated storage location on your computer or external drive. For best practices, label the files with relevant names and dates to make organization simpler later on.
Ensuring Quality in Your Digital Conversion
Best Practices for High-Quality Output
To ensure high-quality output during conversion, adhere to several industry best practices. Use only high-quality cables to connect your devices, as they can significantly impact video quality during the transfer process. Additionally, capture in the highest possible resolution, as this will provide more flexibility for future editing and ensure the longevity of the video file.
Regularly clean both your playback device and capture equipment to maintain optimal performance. Dust and dirt can create artifacts and distortions in your video quality, so a clean, well-maintained setup will yield the best results.
Common Mistakes to Avoid
While converting MiniDV tapes to digital is generally straightforward, several common mistakes can affect the outcome. One of the most significant errors is neglecting to monitor the capture process, which can lead to dropped frames or interruptions. Always keep an eye on the transfer, especially when dealing with older tapes known for potential playback issues.
Another frequent misstep is improperly labeling video files after conversion. Always assign clear titles to each digital file immediately after conversion and maintain a consistent naming structure for easy retrieval later. Failing to do so can lead to frustration when you attempt to locate a specific video down the road.
Post-Conversion Editing Tips
After successfully converting your MiniDV tapes to digital, you might want to edit the files for enhanced viewing. Utilizing editing software like Adobe Premiere Pro or Final Cut Pro, you can trim out unnecessary sections, enhance audio quality, and even apply filters or special effects to create a polished final product.
Consider creating backup copies of your files in different formats. For instance, having a .MP4 version for everyday use and a higher-quality .MOV version for archiving can provide both accessibility and preservation of your videos.
Preserving and Sharing Your Digital Collection
Organizing Your Digital Files
Once your MiniDV tapes are converted and edited, organizing your digital files becomes essential for accessibility. Create a folder structure on your computer or external storage that separates videos by date, event, or type. You might also consider using tag systems that can identify key contents like family milestones, vacations, or significant celebrations.
Utilizing software tools with organizational capabilities, such as Adobe Bridge or dedicated media management software, can help manage large collections by adding metadata and searchable tags, making finding specific files much simpler.
Safe Storage Solutions for Digital Media
Storing your digital videos safely ensures they remain intact for years to come. Given the vulnerability of hard drives to mechanical failure, consider using a multi-tier storage strategy. Keep copies of your videos on both local storage (external hard drives or SSDs) and cloud storage platforms like Google Drive or Dropbox. Redundancy is key; having multiple copies in different formats and locations will safeguard against potential data loss.
Sharing Your Converted Videos with Family and Friends
With your digital videos organized and securely stored, sharing them with family and friends becomes an enjoyable experience. Utilize social media platforms or cloud sharing services to distribute your favorite moments, or consider creating a private YouTube channel or Vimeo account dedicated to family videos. This allows for easy access not only for you but also for loved ones who may want to relive special occasions recorded on those MiniDV tapes.
For a more personal touch, consider creating DVDs or USB drives featuring a compilation of your converted videos as gifts for family members. This physical reminder of shared memories can hold sentimental value and keep your precious moments alive for future generations.